


USA,
(2013–2017), 8 h 48 min
(Length: 41–58 min)
Creators:
Vic MignognaCinematography:
Matt BucyCast:
Vic Mignogna, Todd Haberkorn, Christopher Doohan, Grant Imahara, Kim Stinger, Michele Specht, Wyatt Lenhart, Steven Dengler, Chuck Huber, Jamie Bamber (more)Episodes(11)
-
Pilgrim of Eternity (E01)
-
Lolani (E02)
-
Fairest of Them All (E03)
-
The White Iris (E04)
-
Divided We Stand (E05)
-
Come Not Between the Dragons (E06)
-
Embracing the Winds (E07)
-
Still Treads the Shadow (E08)
-
What Ships Are For (E09)
-
To Boldly Go: Part I (E10)
-
To Boldly Go: Part II (E11)
Gallery (33)

To Boldly Go: Part I (E10)
Photo © Trek Continues, Inc.
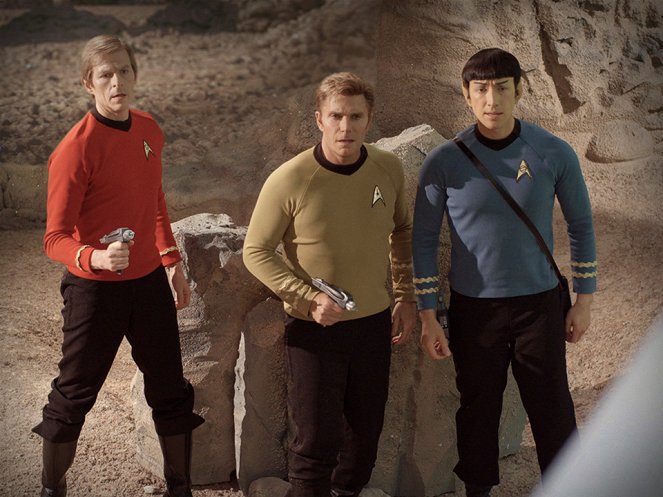
To Boldly Go: Part II (E11)
Photo © Trek Continues, Inc.

To Boldly Go: Part II (E11)
Photo © Trek Continues, Inc.

To Boldly Go: Part II (E11)
Photo © Trek Continues, Inc.

To Boldly Go: Part II (E11)
Photo © Trek Continues, Inc.

To Boldly Go: Part II (E11)
Photo © Trek Continues, Inc.

To Boldly Go: Part II (E11)
Photo © Trek Continues, Inc.

To Boldly Go: Part II (E11)
Photo © Trek Continues, Inc.

To Boldly Go: Part II (E11)
Photo © Trek Continues, Inc.
